July Paper Pumpkin Kit: Hooray for Birthdays
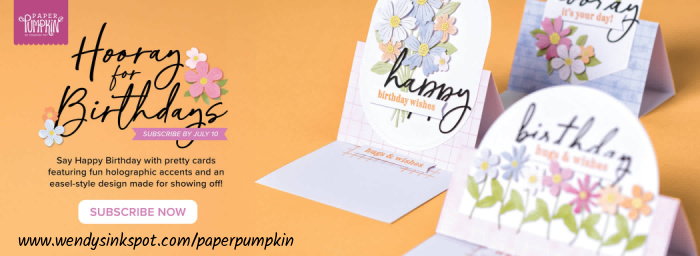
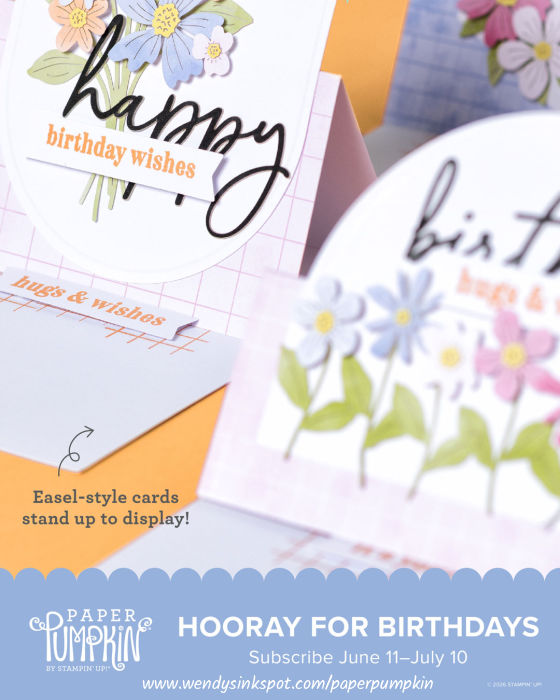
If you love sending handmade birthday cards that really stand out, the July Hooray for Birthdays Paper Pumpkin kit is going to be right up your alley. This month’s kit makes it so easy to celebrate the people you love with a bright, fun, and totally display worthy card. Each easel‑style card pops up and stands on its own, perfect for desks, mantels, or anywhere someone wants to enjoy a little extra birthday cheer.
Hooray for Birthdays Kit Contents:
- Create 9 cards, 3 each of 3 designs, plus coordinating envelopes
- Exclusive Hooray For Birthdays stamp set, two‑step flower stamps that let you build multi‑colored blooms with ease
- Holographic foil accents for a little extra sparkle
- Precut paper pieces and printed stickers
- A Timid Tiger Stampin’ Spot for crisp, colorful stamping
- Coordinating colors: Basic Black, Darling Duckling, Hydrangea Hue, Melon Mambo,
Coordinating Colors:
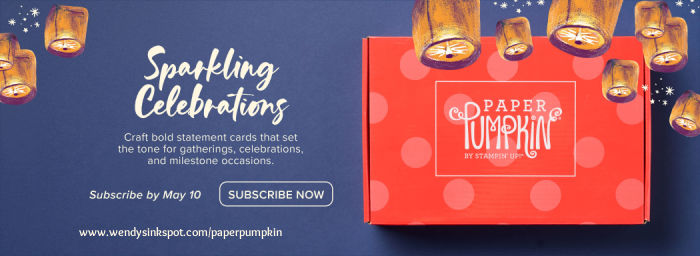
Subscribe to Paper Pumpkin and get everything you need to create handmade cards, tags, and more delivered to your door each month. It’s such a fun way to carve out a little creative time for yourself — and each kit comes with exclusive products and a wonderfully supportive crafting community to cheer you on.
A Paper Pumpkin subscription also makes a fantastic gift! Treat your favorite people to a creative outlet in a box and brighten their month with something handmade and heartfelt.
Be sure to subscribe by July 10 so you don’t miss the Hooray for Birthdays kit!
Pre-Paid Subscriptions Also Available
Stampin’Up! also offers Prepaid 3 month, 6 month or 12 month Subscriptions which allow you to pay ahead or give as a gift. Just click the image below for the prepaid subscription of your choice.
Happy Stamping!

Want to leave a comment, Please Click Here

**Subscribe to my Customer Newsletter
**Shop the Last Chance Products List – Click Here
**Join my Ink, Stamp & Share Team of Demonstrators – click for info